
|
|
Stillink3200InstallingTheSSSPowerSupplyModuleAfter installing the main CPU board, next is to install the SSS power supply module. The location is left to the main CPU board. Hold the module with arm in the front panel and move it inward. 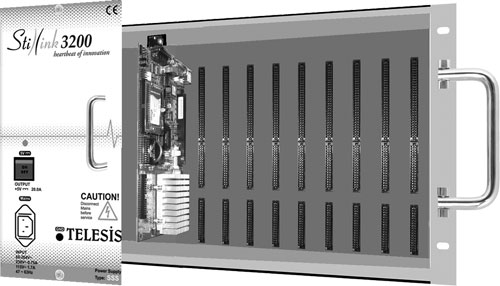 Meanwhile, pass the power and ground cables of the SSS module through hole at the back of the subrack. 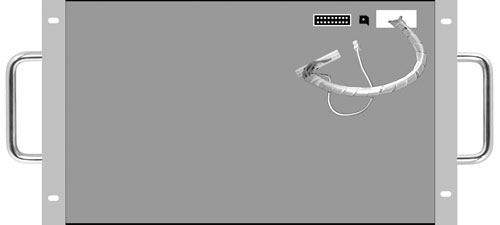 Fix the screws at the top and bottom of the front panel with hand. To tighten, turn the screw in clockwise until it looks firmed. Do not use an excessive power. 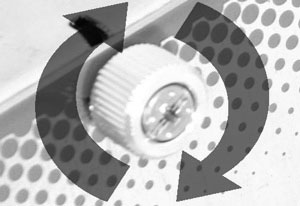 To loose, turn the screw in counter-clockwise.  Do not use a screwdriver to tighten the screws on the front panel.  As the last, connect the power and ground cables to the relevant connectors at the back of the Stillink3200 subrack.  Front view of the Stillink 3200 subrack after SSS power supply module is installed. 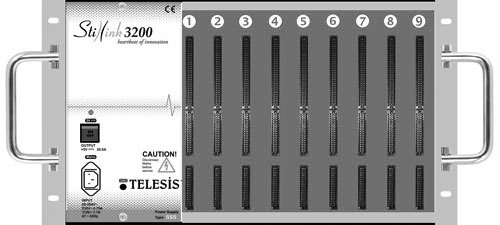 |